
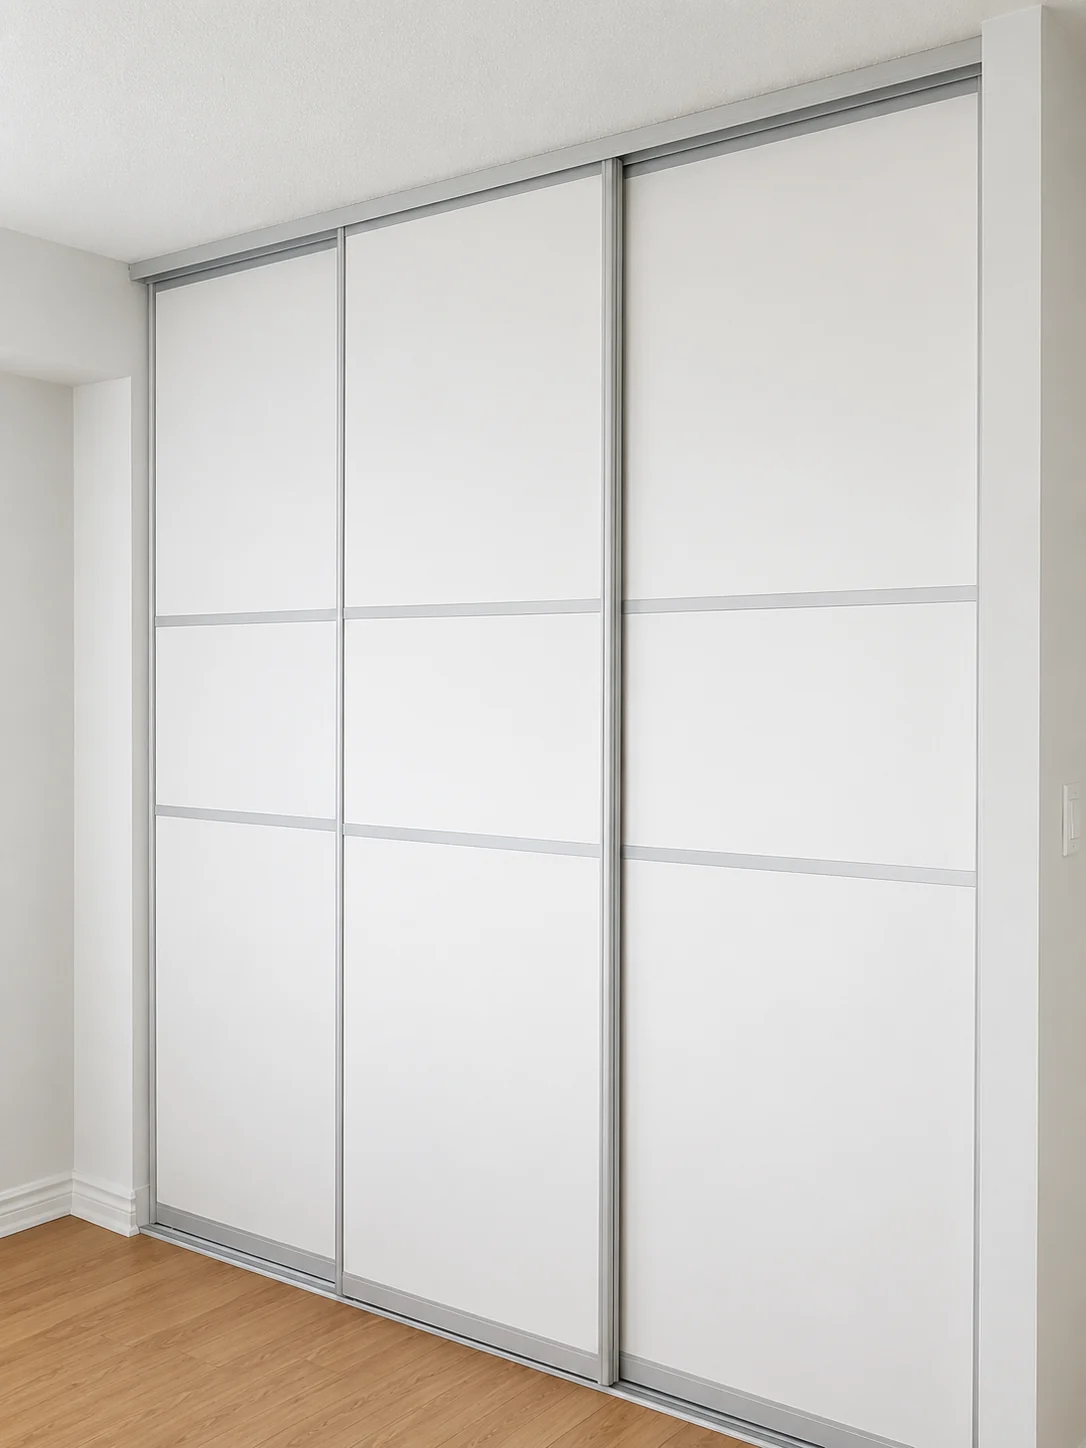
Application Type
Closet Sliding Doors
Plan sliding closet doors for reach-in closets, walk-in entrances, and built-in wardrobes. Panel movement and stacking are coordinated with the usable opening, interior drawers, shelves, and pull-outs.
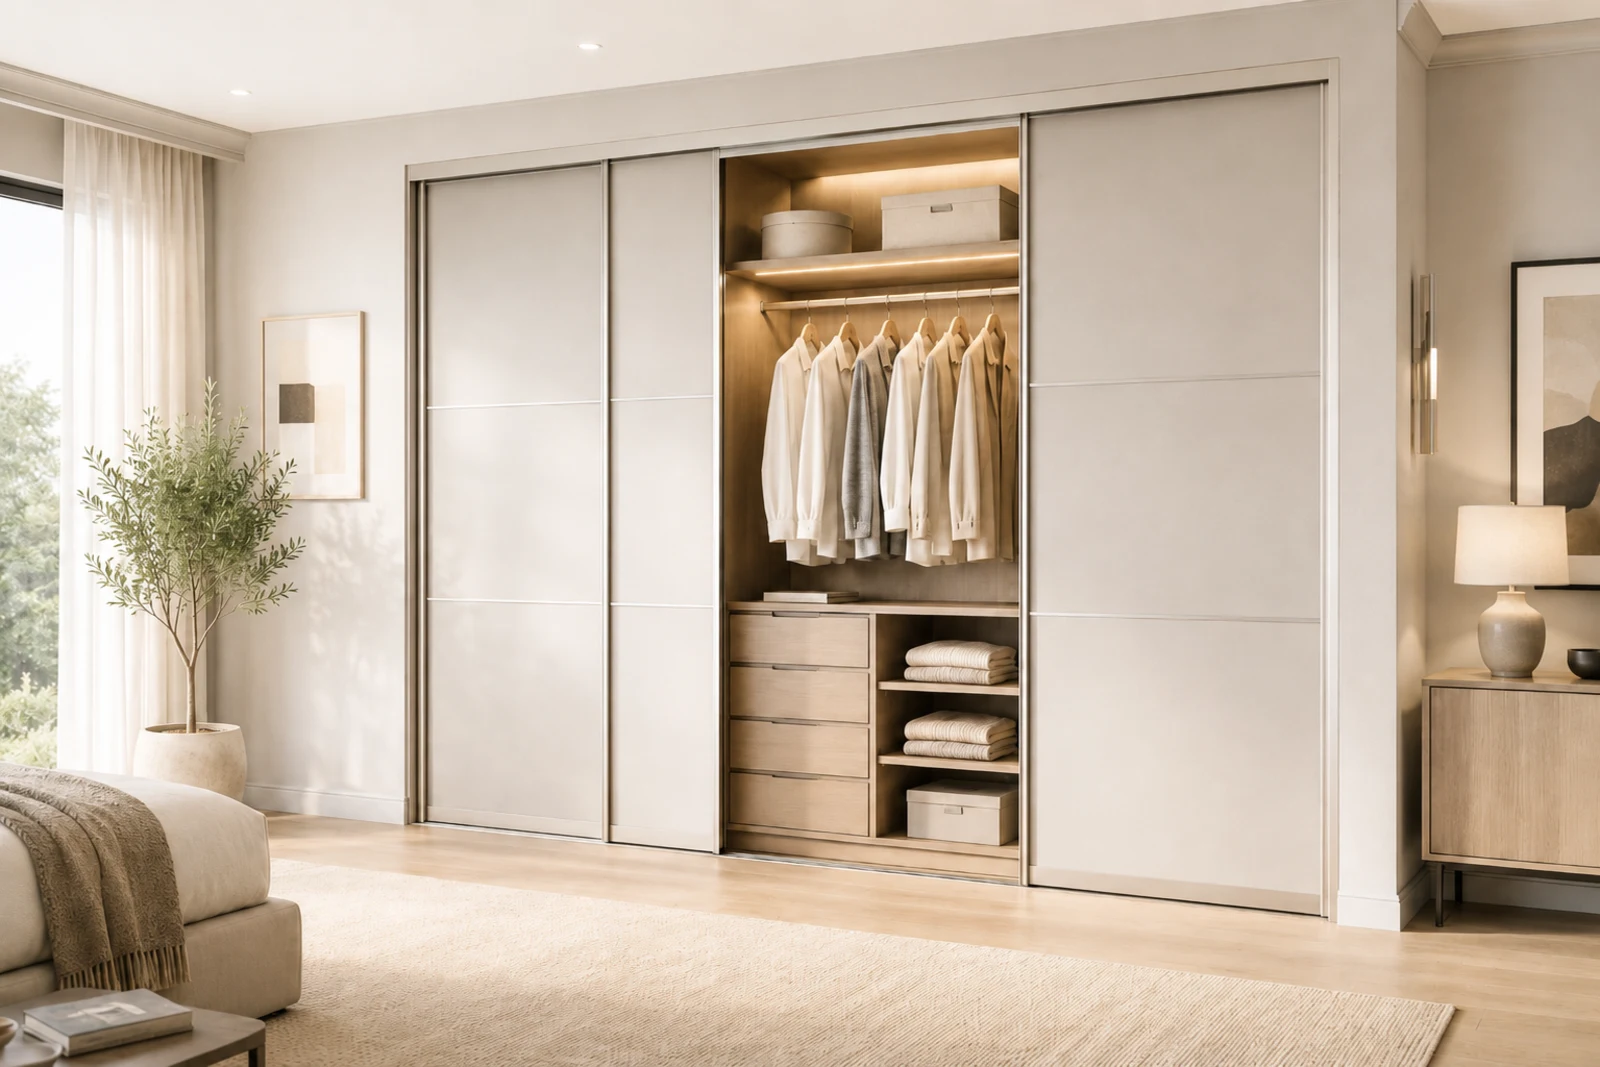
Custom-sized sliding doors for closet openings and flexible room separation, planned around panel movement, access, finishes, and the conditions of your space.
Choose by Application
Start with the opening the doors need to serve. Closet doors and room dividers use the same made-to-measure approach, but access, privacy, panel movement, track layout, and surrounding conditions are planned differently.
Application Type
Plan sliding closet doors for reach-in closets, walk-in entrances, and built-in wardrobes. Panel movement and stacking are coordinated with the usable opening, interior drawers, shelves, and pull-outs.
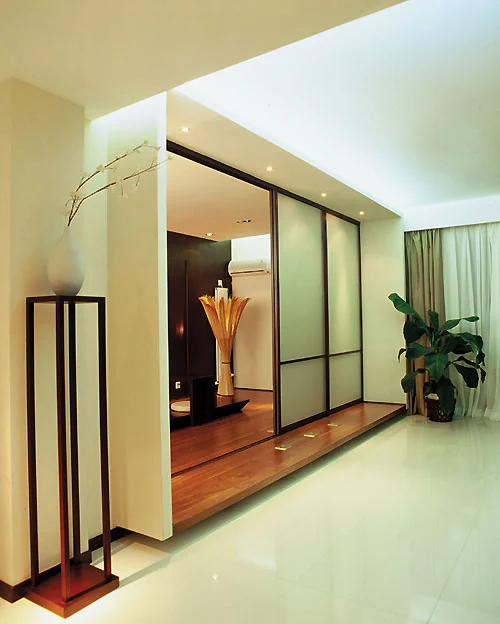
Application Type
Plan a divider for a home office, flex room, or opening between adjoining spaces. Daylight, privacy, circulation, and where the open panels will rest are considered together.
Style & Design Direction
Wood style is not a third application type. It is a warmer material and construction direction that can be developed for a closet opening or an interior divider, using full panels, painted MDF, glass inserts, divided-lite designs, or barn-style hardware.
Three Connected Choices
After the application is established, the visible door design is developed in three connected steps: select the frame profile, choose the panel materials and finishes, and then determine how each door face will be divided and combined.
Step 1
The sliding door frame profile affects the apparent border width, face detail, handle treatment, and overall visual weight of the door. Roomidea currently keeps several aluminum frame profile and finish combinations available, ranging from natural aluminum and silver-toned profiles to white and black options in different face widths.
Natural Aluminum
Narrow Silver Profile
Slim Anodized Profile
Standard Matte Silver Profile
White Profile
Black Profile
Narrow Black Profile
Slim Black Profile
These are current common stock directions, not a permanently fixed catalogue. Availability and compatibility are confirmed for the door height, width, panel count, sliding system, and current inventory. Not every profile can be combined with every handle treatment or the soft-close system.
Step 2
After the frame profile is selected, choose the sliding door panel materials and finishes used within the door. The sample boards below represent current Roomidea inventory directions and have been photographed and colour-adjusted to remain close to the appearance of the physical samples.
Fabric White Finish
Frosted L. Glass
White L. Glass
Cream White Finish
Golden Oak Finish
NA Maple Finish
Ash Black Finish
Ash White Finish
Matt White Finish
HG White Finish
Dark Grey Finish
Light Grey Finish
Screen settings, brightness, and ambient light affect how colours appear. Website images are useful for choosing a direction; final colour is confirmed against the current physical sample and the approved order.
Closet sliding doors use laminated glass. Every panel selection remains subject to size, sliding-system compatibility, and current supply confirmation.
Step 3
The door face can remain as one full panel or be divided into multiple horizontal or vertical sections. The number, position, height, and proportion of the divisions can be adjusted to suit the opening and intended appearance.
A full-panel layout gives each door one continuous surface. Divided-panel layouts introduce rails and separate areas whose count and proportions can be developed for the project.
Different sections of the same door can combine different colours, glass types, or panel materials. Matching panels can create a restrained appearance, while contrasting inserts can emphasize the layout. Multiple doors can be unified or use coordinated variation across the opening.
Final combinations are reviewed for size, structure, and sliding-system compatibility. These examples are starting points rather than a fixed catalogue; Roomidea can review the feasibility of a different division pattern or material combination.
Movement & Access
Once the visible design direction is established, panel movement, track arrangement, stacking, overlap, and the resulting clear opening are coordinated with the room.
Panel count is developed around the opening and access goal rather than selected from a fixed maximum. The track arrangement must support how the panels need to move and collect.
A sliding system does not expose the full opening at once. Door overlap and stacking determine the clear opening available in daily use.
Nearby walls, furniture, switches, walking paths, and the resting position of open panels are reviewed before the layout is confirmed.
For closets, the active opening should align with drawers, pull-outs, shelving, and the storage zones used most often.
Soft-close is currently available with one minimalist sliding system and is not offered across every profile or door style.
Complete-System Replacement
Roomidea can replace an existing sliding-door installation, but the replacement is designed as a complete new system. Existing door panels, tracks, and related hardware are removed rather than reused with the new doors.
The opening and surrounding conditions are reviewed again so the new sliding door replacement can be measured, specified, produced, and installed as one coordinated system.
Project Path
Sliding door measurement and installation follows the product choices. Opening conditions, movement, visible selections, and installation details are resolved before the made-to-measure system enters production.
Start with opening dimensions, photos, intended use, access priorities, and the surrounding ceiling, floor, walls, and trim.
Confirm the opening and site conditions, then develop the panel count, track support, door travel, stacking, and clear-access plan.
Review the selected profile, physical panel samples and names, division layout, compatible components, and final dimensions before production.
Produce the confirmed made-to-measure doors and coordinate installation around the approved opening, track, movement, and site conditions.
See completed installations in Sliding Door Customer Stories and Room Divider Customer Stories.
Warranty & Service
Coverage depends on the confirmed product and service scope. Review the Warranty Policy.
Share the opening dimensions, photos, intended use, and the profile, panel, or door-style directions you are considering. Roomidea can review the site conditions and develop a coordinated made-to-measure sliding-door system.